

The fastest way to protect a cabinet floor from a garbage disposal leak is a waterproof, lipped under-sink mat cut to fit the interior exactly, with pipe cutouts sealed against seepage. Measure the cabinet first, then choose a trimmable silicone or PVC mat with at least a half-inch lip. Under-sink cabinet mats are built for this exact job and come pre-sized for standard cabinet openings.
TL;DR:
- Precise measurement of cabinet dimensions is essential, especially around the disposal and drain pipes, to ensure a water-tight fit and prevent leaks.
- Silicone mats are better for tight spaces and chemical resistance, while PVC sheets are easier to trim and seal around plumbing penetrations.
- Cutting pipe holes about a quarter inch smaller than needed and performing a dry fit before sealing ensures a snug fit that prevents water seepage.
- Regular checks—monthly visual inspections and quarterly thorough evaluations—are necessary to catch slow leaks early and maintain the mat’s effectiveness.
- Avoid installing over damp or unprepared cabinet floors, as trapped moisture accelerates rot and defeats the purpose of leak protection.
Table of Contents
- What Kind Of Liner Actually Stops A Disposal Leak?
- How Do You Measure A Cabinet Around A Garbage Disposal?
- How Do You Install A Mat Without Trapping Water Against The Wood?
- How Often Should You Check An Under-Sink Mat For Leaks?
- What Should You Look For When Buying An Under-Sink Mat?
- What Homeowners Get Wrong About Fitting A Cabinet Mat
- Protect Your Cabinet Floor With A Mat Built For The Job
- Sources
- FAQ
What Kind Of Liner Actually Stops A Disposal Leak?
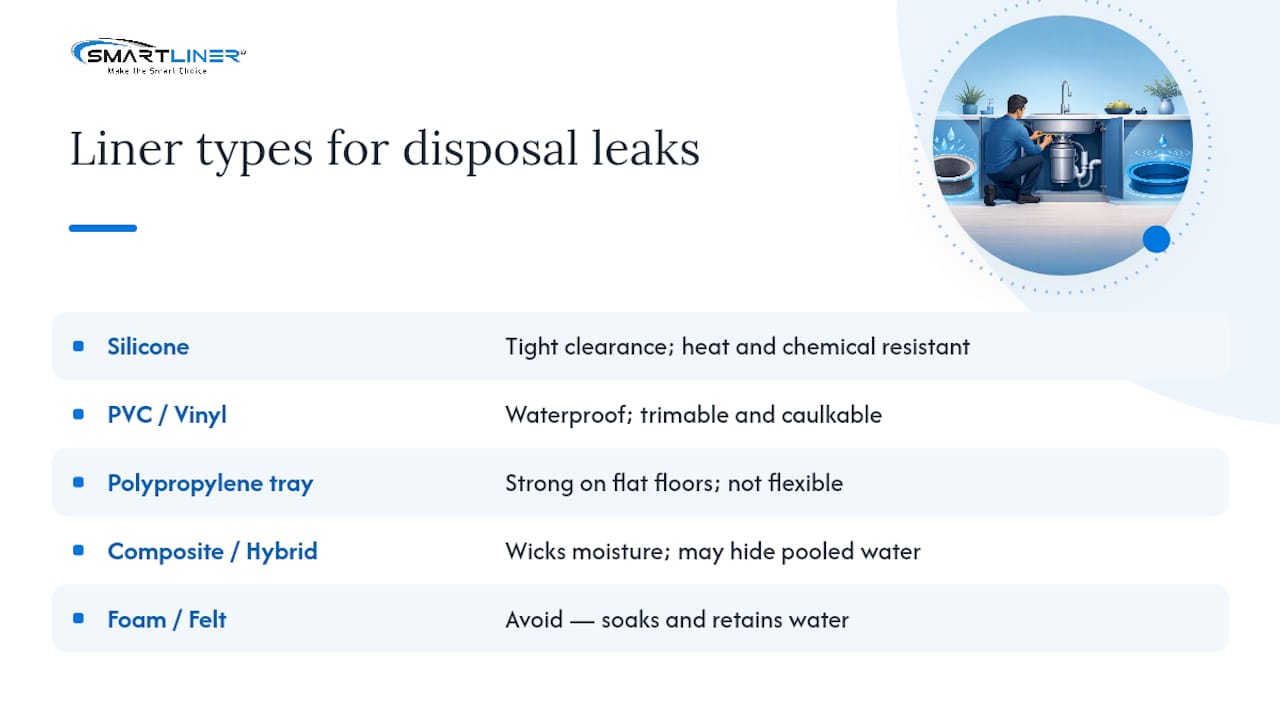
Not every under-sink mat handles a garbage disposal leak the same way, and the material you choose depends heavily on how tight your clearance is and what your plumbing does under the sink.
Silicone is the strongest all-around performer for tight-clearance installs around a disposal unit. It’s chemically inert, hydrophobic, and shrugs off heat and household cleaning chemicals better than most other materials, which matters since disposals sit close to drain lines carrying hot water and degreasers.
PVC or vinyl sheeting is fully waterproof and easy to wipe down. It’s also the material most worth trimming yourself, because you can cut and caulk it around pipes that penetrate the cabinet floor to build a custom barrier exactly where you need one.
Rigid polypropylene trays offer strong containment when the cabinet floor is flat and unobstructed by plumbing. They’re less forgiving around a disposal’s mounting bracket, though, since they can’t flex around odd shapes.
Composite or hybrid liners pair an absorbent top layer with a waterproof backing, which helps wick condensation. They demand more frequent checks, since moisture can pool beneath the absorbent layer without any visible sign on top.
Skip anything built from open-cell foam or felt backing. Both soak up water instead of shedding it, turning your protective layer into a sponge that holds moisture against the wood.
How Do You Measure A Cabinet Around A Garbage Disposal?
A mat that doesn’t fit is worse than no mat at all, since gaps let water slide straight underneath it. Poor measurement and miscut openings cause most installation failures, not bad materials.
- Measure interior width at the front, middle, and back of the cabinet. Cabinet boxes are rarely perfectly square.
- Measure full interior depth, then the vertical clearance from the cabinet opening down to the lowest hanging pipe or disposal unit.
- Map every pipe’s center point and diameter, along with the disposal’s lowest point and the position of any face-frame stiles that jut into the space.
- Cut a paper or cardboard template matching those dimensions and dry-fit it before you touch scissors to your actual mat.
- Write down every dimension so you can compare it against product specs or use it as a cutting guide.
Pro Tip: Trace your disposal’s mounting ring onto your template while it’s still cardboard. It’s far cheaper to redo a paper mistake than a $40 silicone mat.
Cabinets with a garbage disposal almost always have less usable floor space than a standard sink cabinet, since the disposal drops several inches below the drain assembly. Account for that drop before you buy anything, not after.
How Do You Install A Mat Without Trapping Water Against The Wood?
Two approaches work for fitting a mat around plumbing penetrations. The slit method involves cutting a straight line from the mat’s edge to the pipe location and sliding it into place, which is faster but leaves a seam. The full cutout method means disconnecting the pipe briefly, fitting the mat flat, and reconnecting, which takes longer but produces a cleaner seal with no seam at all.
Whichever method you choose, follow the same core steps:
- Cut pipe holes about a quarter inch undersized so the material stretches snugly around the pipe instead of gapping.
- Dry-fit the entire mat before you seal anything. Confirm the lip sits flush against all four cabinet walls.
- Run a bead of 100% silicone caulk around the back edges and every pipe penetration once you’re satisfied with the fit.
- Let the sealant cure fully before you set cleaning supplies or trash bags back on top of it.
Pro Tip: Pour a small cup of water into a corner of the installed mat before you restock the cabinet. If it beads up and stays put instead of creeping under the lip, your seal is solid.
A snug, custom fit is what separates a mat that actually protects your cabinet from one that just looks tidy. Small gaps and folded lips are the most common places where leaks sneak through, so don’t skip the water test.
How Often Should You Check An Under-Sink Mat For Leaks?
Catching a slow drip early is the entire point of installing a liner, and that only works if you actually look under it on a schedule.
- Monthly: a quick visual glance for standing water, warped edges, or a mat that’s shifted out of place.
- Quarterly: empty the cabinet, lift the mat completely, dry the floor, and inspect pipe joints and mat seams for wear or discoloration.
- Replace it when you notice a curled or cracked lip, softened or tacky material from chemical exposure, persistent dampness that won’t dry between checks, or visible tears and permanent compression marks.
Wipe silicone and PVC mats with mild soap and water. Avoid solvent-based cleaners, since they can break down some polymers faster than plain wear would. If you’re dealing with an odor or discoloration on the wood itself rather than the mat, that’s usually a sign of mold taking hold in a spot the mat didn’t fully cover, and it needs separate treatment before you reinstall anything.
Trapped wicking moisture feels damp across a wide, even area and often smells musty. A direct drip leaves a distinct wet spot or puddle in one concentrated location, usually right below a pipe joint or the disposal’s mounting flange.
What Should You Look For When Buying An Under-Sink Mat?
Run through this checklist before you order anything:
- Accurate interior measurements, taken at multiple points, not just eyeballed.
- Lip height between 0.5 and 1 inch, which holds enough volume to buy you time to catch a small leak before it overflows.
- Material flexible enough to work around a disposal’s irregular clearance without cracking at the fold lines.
- Chemical resistance, since drain cleaners and degreasers degrade weaker polymers faster than most people expect.
- Trimmability, so you can adjust the fit on-site rather than returning a mat that’s a half-inch off.
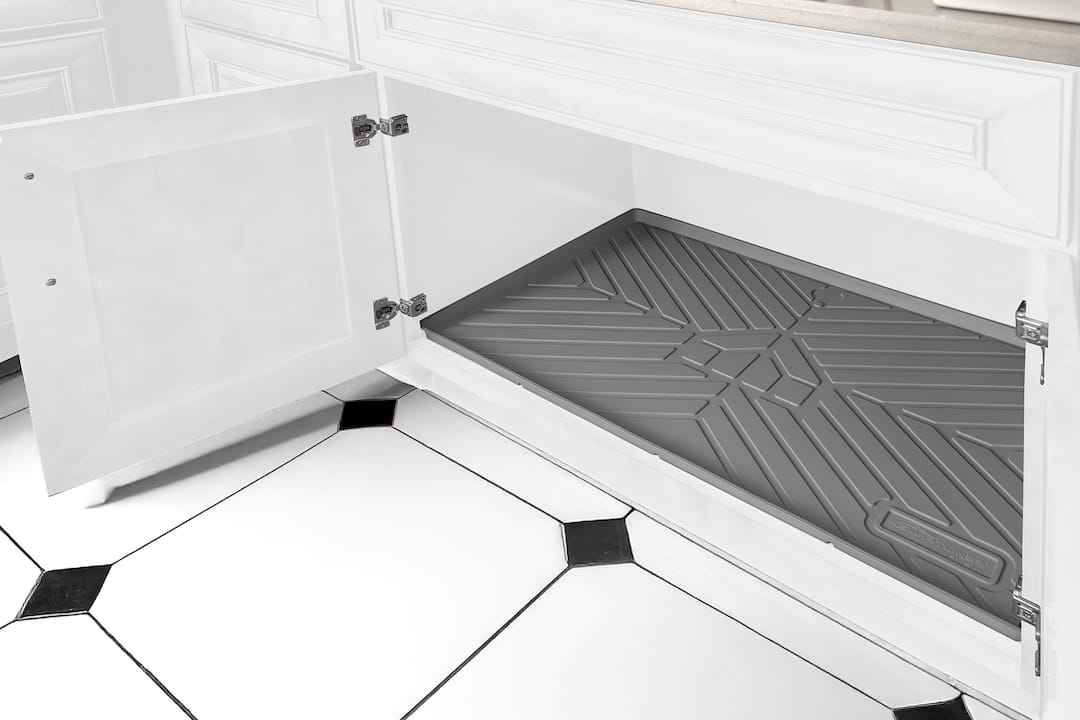
Smartliner-usa’s under-sink cabinet mats are built against that same checklist, with raised lips and flexible material designed to handle disposal clearance without cracking. For a standard-width cabinet, the 22.5 by 34.5 inch mat covers most full-size base cabinets, while the 22.5 by 28.5 inch option fits narrower cabinet runs common in smaller kitchens. If clearance under your disposal is especially tight, lean toward the more flexible silicone construction over a rigid tray.
Before installing either size, confirm the cabinet floor is completely dry. Installing a mat over damp wood traps that moisture against the surface and can accelerate rot instead of preventing it.
What Homeowners Get Wrong About Fitting A Cabinet Mat
Most leak damage traces back to three mistakes: skipping the pre-install inspection, mismeasuring around the disposal’s lowest point, and sealing cutouts before confirming a dry fit. None of those are material problems. They’re sequencing problems.
Precise fit beats premium marketing every time. A $60 mat installed with a quarter-inch gap along the back wall does less than a $25 mat that’s been measured and dry-fit properly. Check under the mat every quarter, whatever brand you choose, and trust the fit over the label.
— Marty
Protect Your Cabinet Floor With A Mat Built For The Job
You’ve measured the cabinet, chosen a material, and learned how to seal around the pipes. The remaining step is picking a mat that already matches those specs instead of guessing at a generic sheet from a hardware aisle. Smartliner-usa’s under-sink cabinet mats are made from recyclable material with a raised lip built in, so you’re not cutting your own containment edge from a flat roll. Compare your measurements against the 34.5 inch option for standard base cabinets or the 28.5 inch size for narrower runs, then order the one that matches your cabinet width and depth. Measure once, order the right size, and stop guessing at cutouts every time you check under the sink.
Sources
- Waterproof Mat Placement Under Kitchen Sink Made Simple
- The Hidden Systems Inside Your Kitchen Cabinet: More Than Just a Mat for Under Sink
- 7 Steps to Pick a Waterproof Liner to Protect Sink Floor
- 7 Best Under-Sink Drip Mats for 2026: Expert-Tested Kitchen Protection - Kitcheniverse
FAQ
What Is The Best Way To Stop A Garbage Disposal Leak From Ruining A Cabinet?
Install a waterproof, lipped under-sink mat cut precisely to your cabinet’s interior dimensions, with all pipe cutouts sealed using 100% silicone caulk.
What Lip Height Do I Need On An Under-Sink Mat?
A lip between 0.5 and 1 inch holds enough water to give you time to spot and fix a small leak before it overflows.
Is Silicone Or PVC Better For A Cabinet With A Garbage Disposal?
Silicone flexes better around a disposal’s tight clearance and resists heat and chemicals, while PVC is easier to trim precisely around pipe penetrations.
How Often Should I Check Under My Sink Mat?
Do a quick monthly glance for standing water, then a full quarterly inspection where you empty the cabinet and lift the mat completely.
Can I Install A Mat Over An Already Damp Cabinet Floor?
No. Installing over damp wood traps moisture against the surface and can accelerate rot, so always dry the cabinet floor completely first.